Getting Started with PBR Textures
The definitive guide to PBR texture maps. What each map does, how values work, common mistakes, and how to generate them instantly from photos.
Physically Based Rendering (PBR) is how modern 3D engines handle materials. Game engines like Unreal and Unity, renderers like Blender’s Cycles, and real-time tools like Three.js all use PBR to calculate how light bounces off surfaces. The result: materials that look correct under any lighting condition, not just the one they were designed for.
This guide covers what each PBR texture map does, what values actually mean in practice, and how to generate them from photos or hand-painted textures.
Why PBR Replaced Legacy Shading
Older shading models like Phong and Blinn-Phong required artists to manually tweak specular highlights, ambient colors, and diffuse values per lighting setup. Move the light, and the material breaks. PBR solves this by grounding calculations in physics: energy conservation (a surface can’t reflect more light than it receives), Fresnel reflectance (surfaces reflect more at glancing angles), and microfacet theory (roughness is modeled as microscopic surface variation).
The practical benefit: you define material properties once, and they hold up whether the object sits under studio lights, outdoor sunlight, or a dim interior.
The Core PBR Texture Maps
A full PBR material uses several maps working together. Here’s what each one controls and how to think about the values.
Albedo (Base Color)
The albedo map stores the raw color of a surface with no lighting baked in. No shadows, no highlights, no ambient occlusion. Just color.
Getting albedo right matters more than any other map. If your albedo contains baked shadows or specular highlights, those artifacts will compound with the real-time lighting and produce incorrect results.
A few practical rules:
- Measured values stay in a specific range. No real-world material has an albedo darker than about 30-50 sRGB (like charcoal) or brighter than about 240 sRGB (fresh snow). Pure black (0) and pure white (255) don’t exist on real surfaces.
- Metals have colored albedo. Gold reflects yellow-orange (255, 200, 50 range), copper reflects reddish-brown, iron reflects near-gray. Non-metals have grayscale or lightly tinted reflections handled by the renderer, so their albedo is just their diffuse color.
- Photograph sources need de-lighting. If you’re generating albedo from a photo, the source will contain shadows from the original lighting. Tools like PBR Forge handle this during normal map generation, but it helps to start with evenly lit source images.
Normal Map
Normal maps fake surface geometry without adding polygons. Each pixel encodes a direction vector as an RGB color, telling the renderer which way that point on the surface is “facing.” This creates the illusion of bumps, scratches, grooves, and fine surface detail.
There are two conventions:
- OpenGL style (Y+ up): Used by Blender, most film renderers, and Three.js. Green channel points up.
- DirectX style (Y- up): Used by Unreal Engine, Unity (by default), and most game engines. Green channel is inverted.
If your normal map looks like the bumps are going inward instead of outward, you likely have the wrong convention. PBR Forge generates OpenGL-style normals by default, which is the more common standard.
Strength matters. Cranking normal map intensity to maximum makes surfaces look like they’re wrapped in cellophane. Subtle values (0.3-0.7 range) usually produce more realistic results. You want the surface to catch light naturally, not look like a relief sculpture.
Roughness
Roughness controls how sharp or blurry reflections appear. It maps directly to the microsurface detail of a material.
- 0.0 (black) = mirror-smooth. Perfect reflections. Think polished chrome, still water, or new glass.
- 1.0 (white) = fully rough. Completely diffuse reflections. Think chalk, raw concrete, or unfinished wood.
- Most real materials fall between 0.3 and 0.8. Finished wood might be 0.4-0.6, plastic around 0.3-0.5, brushed metal 0.3-0.5, rubber 0.8-0.95.
A common mistake: making everything too smooth. Real surfaces have micro-scratches, dust, and wear patterns that increase roughness. Even “smooth” objects like phone screens have enough roughness (around 0.1-0.15) to soften reflections slightly.
Variation is key. A flat roughness value across an entire surface looks artificial. Real materials have wear patterns: edges are smoother from handling, recessed areas accumulate grime, and exposed sections weather differently. Adding this variation, even subtly, sells the realism.
Metallic
The metallic map is binary in practice: a pixel is either metal (1.0/white) or non-metal (0.0/black). In-between values are only used at the boundary between metal and non-metal regions, spanning just a few pixels to smooth the transition.
Why it’s binary: metals and non-metals reflect light in fundamentally different ways. Metals tint their reflections with their albedo color (gold reflects gold-colored light) and have no diffuse component. Non-metals reflect white/neutral specular highlights and scatter the rest as diffuse color. The renderer switches between these two shading models based on the metallic value.
Common metallic values:
- 1.0: Steel, aluminum, gold, copper, iron, chrome
- 0.0: Wood, plastic, fabric, skin, ceramic, stone, rubber
- Edge cases: Tarnished or painted metal is 0.0 (the paint/tarnish layer is non-metallic). Bare metal showing through scratches in paint is 1.0.
Ambient Occlusion (AO)
AO maps add soft contact shadows in crevices, corners, and areas where geometry blocks ambient light. White means fully exposed, black means fully occluded.
AO doesn’t replace real-time shadows. It handles the subtle darkening in areas that global illumination would naturally shade but that screen-space techniques often miss: the crease where a brick meets mortar, the gap between floor tiles, the fold in fabric.
Don’t overdo it. Heavy AO creates unnaturally dark crevices that look painted on rather than lit. Aim for subtle contact darkening. If the AO is clearly visible as dark halos, it’s too strong.
Height / Displacement
Height maps store elevation data as grayscale values. White is the highest point, black is the lowest. They serve two purposes:
- Parallax mapping: Fakes depth by shifting texture coordinates based on view angle. No extra geometry, just a visual trick. Good for floors, walls, and surfaces viewed at an angle.
- Tessellation / displacement: Actually subdivides and displaces geometry. More expensive but produces real silhouette detail. Used in film and high-end game cinematics.
PBR Forge generates height maps alongside normal maps since both are derived from the same surface detail analysis.
Generating PBR Textures from Photos
The traditional workflow for creating PBR textures involves photographing or scanning real surfaces, then manually separating that data into individual maps using Photoshop or Substance Designer. This can take hours per material.
PBR Forge handles this automatically:
- Upload a source image. A photo, a scan, a hand-painted texture. The input just needs to show the surface detail you want to capture.
- Maps generate in real-time. Normal, height, roughness, AO, metallic, and emissive maps are all computed on the GPU as you watch. Adjust any parameter and see the result update instantly.
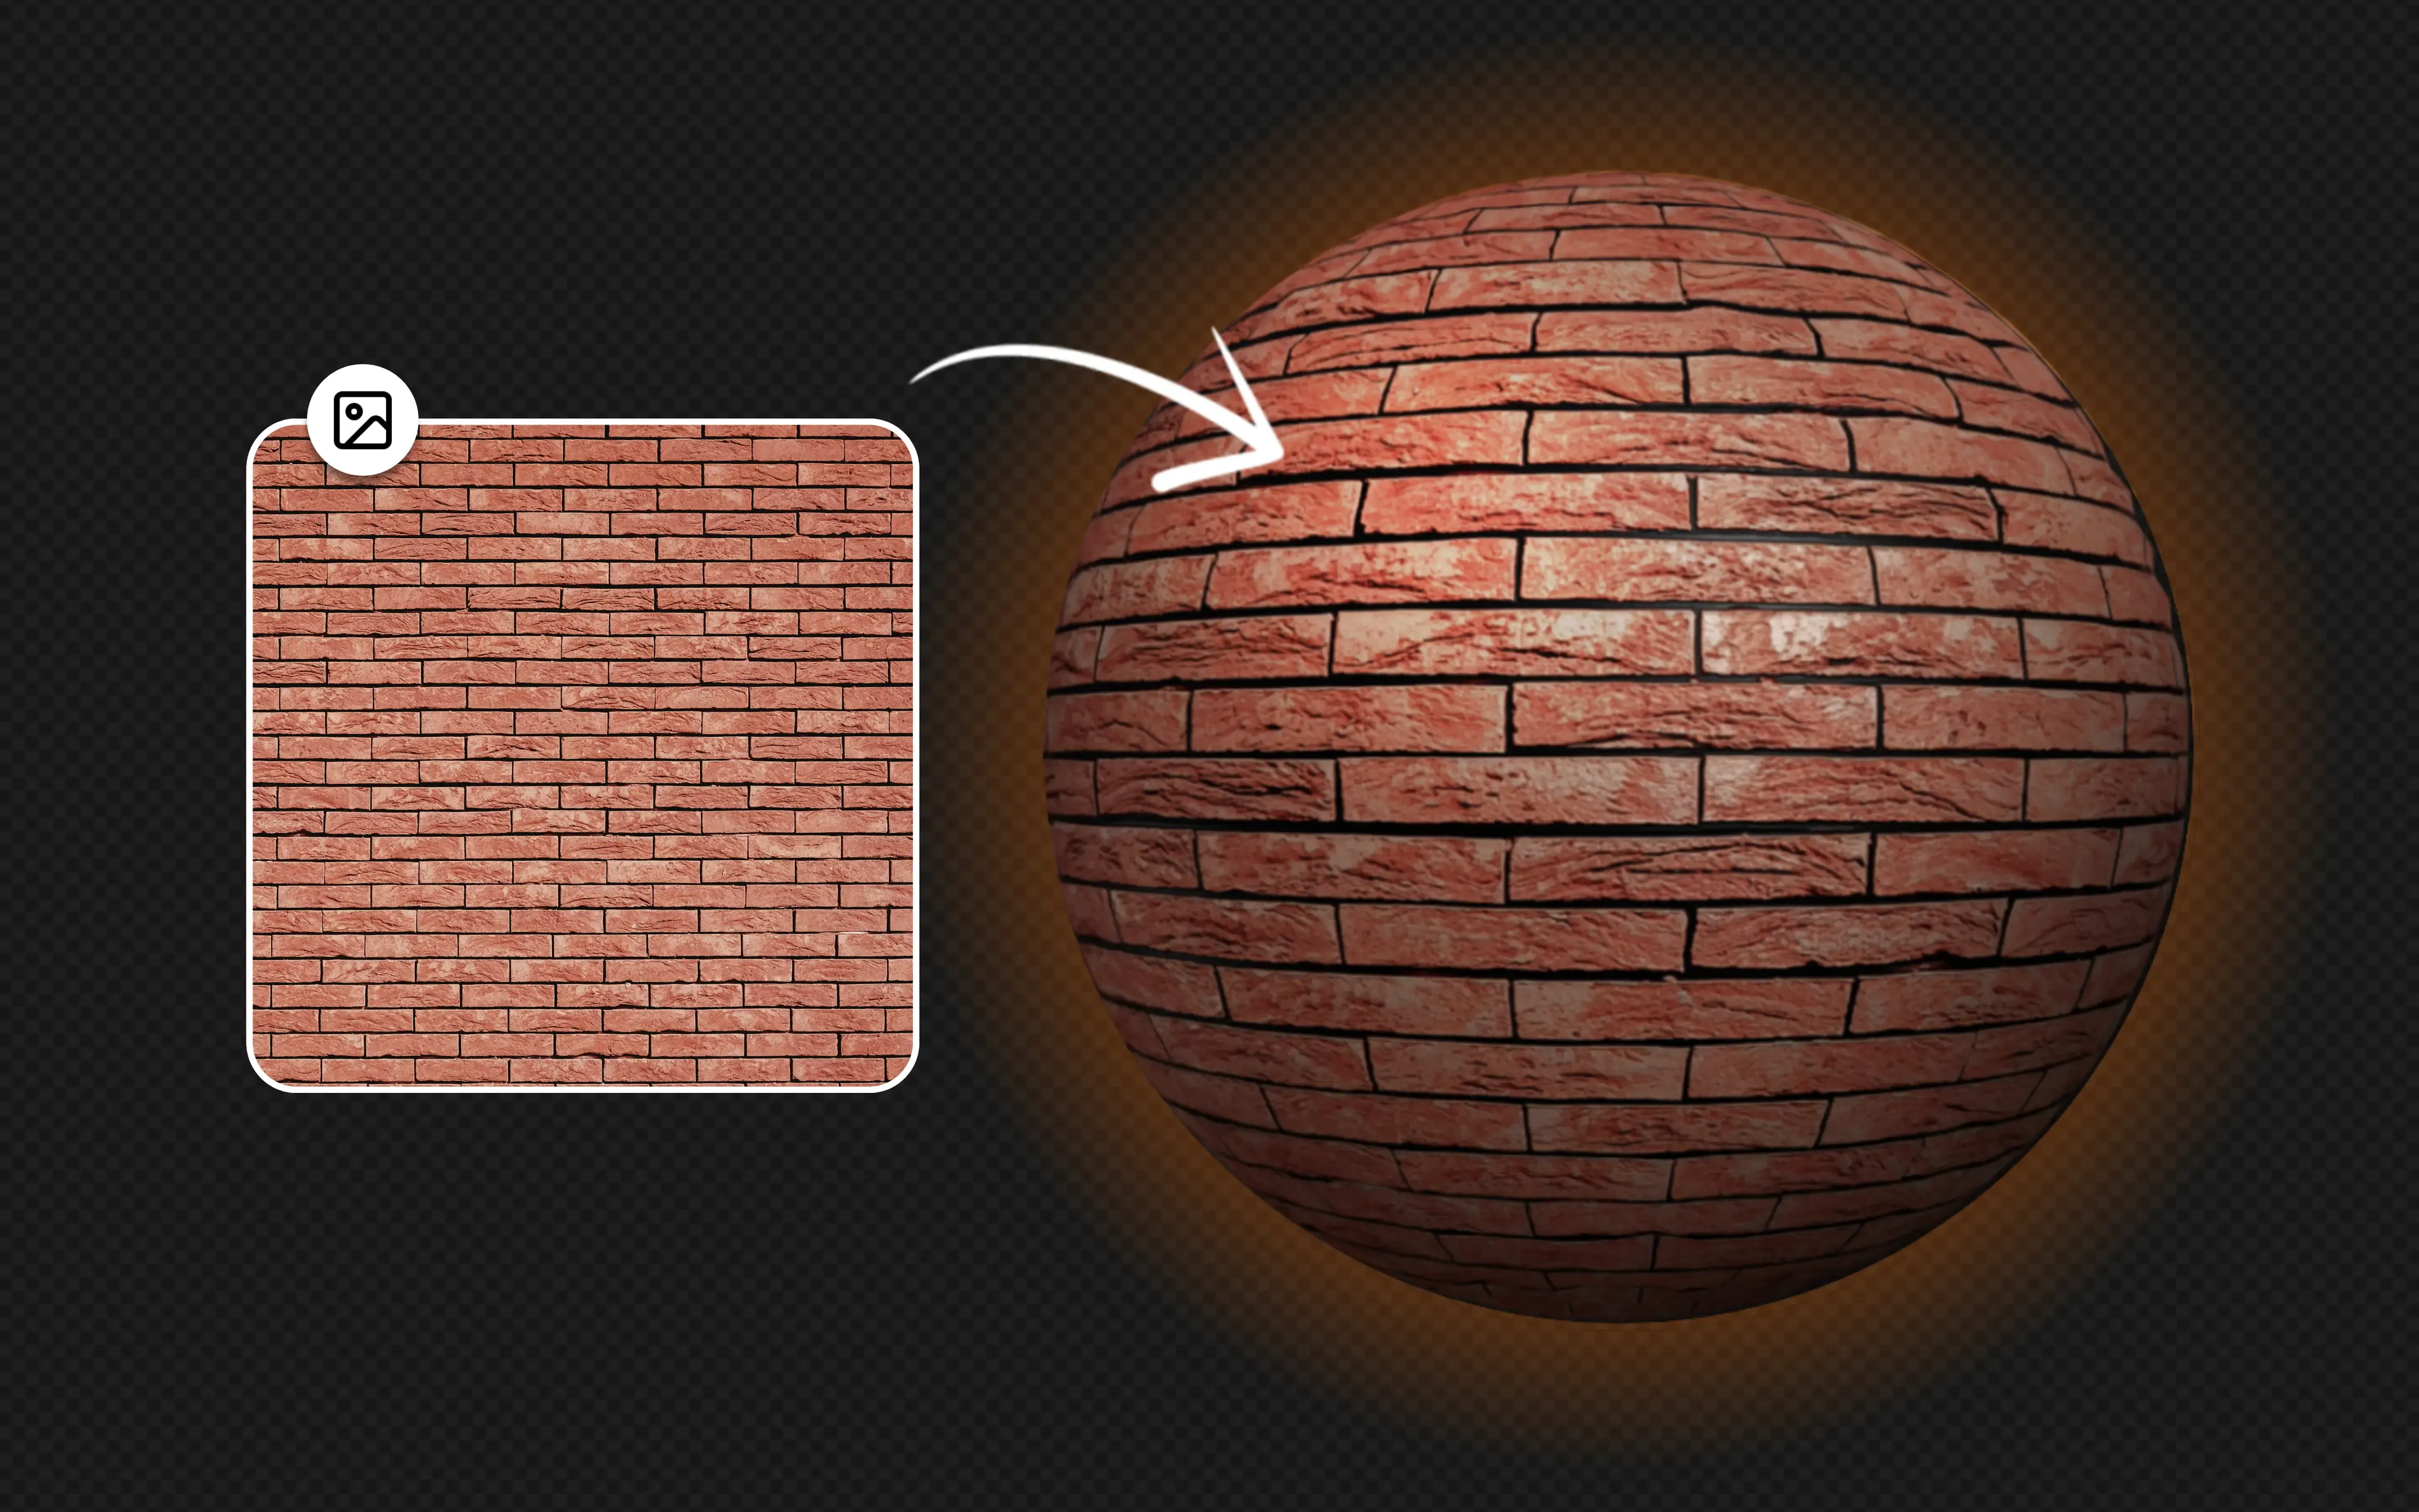
- Preview on 3D geometry. Check your material on a plane, sphere, or cylinder with adjustable lighting before you commit to exporting.
- Export individual maps or full packs. Download exactly what your engine or renderer needs.
Tips for Better Source Images
The quality of your output depends heavily on the input:
- Even lighting wins. Overcast daylight or diffused artificial light minimizes baked-in shadows. Harsh directional light creates shadows that get misinterpreted as surface detail.
- Shoot straight-on. Perspective distortion warps the texture. Aim for as close to perpendicular as possible.
- Resolution matters, but more isn’t always better. A 2K (2048x2048) texture covers most game use cases. 4K is useful for hero assets or architectural visualization where cameras get close. Going beyond 4K rarely pays off for real-time applications.
- Seamless tiling starts at capture. If the texture needs to tile, frame the shot to include enough repeating pattern that edges can be blended. PBR Forge doesn’t make textures seamless automatically, so this is worth getting right at the source.
File Formats and Resolution
Different engines and workflows expect different formats:
| Format | Best for | Notes |
|---|---|---|
| PNG | General use, web | Lossless, supports alpha. Larger files. |
| JPEG | Quick previews | Lossy compression introduces artifacts in normal maps. Avoid for normal/height. |
| EXR / HDR | Film, high-end | 32-bit float precision. Overkill for most game textures. |
| TGA | Legacy game engines | Still used in some older pipelines. |
For normal maps, always use a lossless format. JPEG compression creates block artifacts that produce visible shading errors. PNG is the safe default. EXR if your pipeline supports it and precision matters.
Standard resolutions: 512 for distant/small objects, 1024 for mid-range, 2048 for primary surfaces, 4096 for hero assets. Match resolution to how close the camera gets, not to how “important” the asset feels.
Common Mistakes
After working with PBR textures across hundreds of materials, these are the issues that come up most often:
- Baked lighting in albedo. The single most common problem. If your albedo has shadows or highlights from the source photo, every other map built on top of it will look wrong.
- Roughness too uniform. Real surfaces have variation. Even a painted wall has brush strokes, dust, and wear.
- Normal map intensity too high. Subtle normals look natural. Extreme normals look like bubble wrap.
- Metallic values between 0 and 1. Outside of transition pixels at material boundaries, metallic should be either 0 or 1. Values like 0.5 don’t represent any real material.
- Wrong resolution for the use case. A 4K texture on a background prop wastes memory. A 512 texture on a hero prop looks blurry. Match resolution to screen presence.
- Ignoring color space. Albedo is sRGB. Normal, roughness, metallic, and AO are linear. Importing with the wrong color space causes washed-out or overly contrasted results. Most engines handle this automatically if you label the textures correctly.
Next Steps
The best way to learn PBR texturing is to experiment. Open PBR Forge, drop in a photo, and start adjusting parameters. Watch how changes to normal map strength affect the lighting. See how roughness variation changes the surface feel. Try different source images: brick, wood, fabric, metal.
Build a small library of materials. Texture a simple scene. The feedback loop between tweaking parameters and seeing results in real-time is the fastest path from understanding the theory to developing real intuition for PBR materials.